
Welcome. Today, we will demonstrate how easy it is to join a video conference that you have been invited too. in less then five minutes.
To participate in HTML5 web-based video conference, all you’ll need to do is click on the link that a host provided you. Most likely the link will be sent to you in an email. All you have to do is click on the link to join the video conference and then you’ll be able to participate.
If the link does not automatically open a browser to start the video please open your browser and enter the video link provided to you in the address bar.
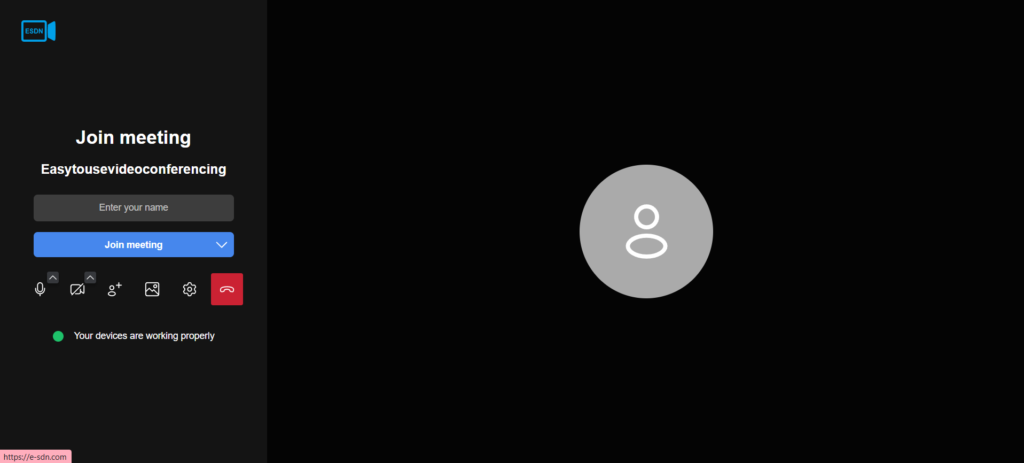
Upon doing so, you will arrive at a page that resembles this page with single text box on the far left to enter in your Name. See this image. It is crucial to ensure that a web camera is connected to your laptop or PC for the conference to function properly. You Should see your Image in the right side of the screen.
Once you have entered Your Name, click on “Join Meeting” to initiate the video conference. A critical aspect to remember during web-based video conferencing is to click the “Allow” button that appears at the top of your browser.
Failure to do so will prevent the browser from accessing your camera or microphone, which is essential for the video conference.
After clicking “Allow,” you will successfully enter the video conference. Our initial focus will be on understanding the menu bar.
At the bottom of the screen, you will observe various icons. Starting from the far left, the first icon is the microphone. Clicking this icon will toggle your microphone on or off.
The second icon, located next to the microphone, is the camera button. Activating this button will turn on your camera; clicking it again will deactivate it, often indicated by a line through the camera icon.
The third icon from the left is for screen sharing. Click this icon, and a pop-up menu will appear, presenting different options for sharing your screen. The first option shares your entire screen, but it is advisable to share only a specific window.
When you select “Window,” you will see the various tabs or programs currently open on your computer. Highlight the desired browser and activate it.
Once screen sharing is enabled, you will be directed to the selected program or browser, with a menu at the bottom allowing you to stop sharing at any time.
Participants will see a layout similar to this, with the shared screen occupying the left side and a column on the far right displaying all video participants.
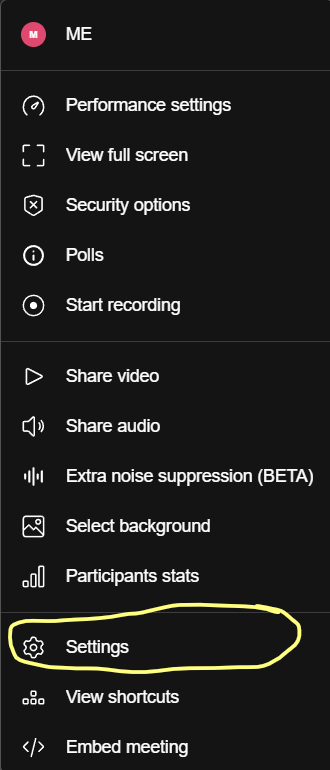
Next, navigate to the control menu by clicking on the three dots at the bottom. This will reveal a new control menu displaying various options for managing your video meeting. Click on Settings
Then you will see a menu like these. See Image
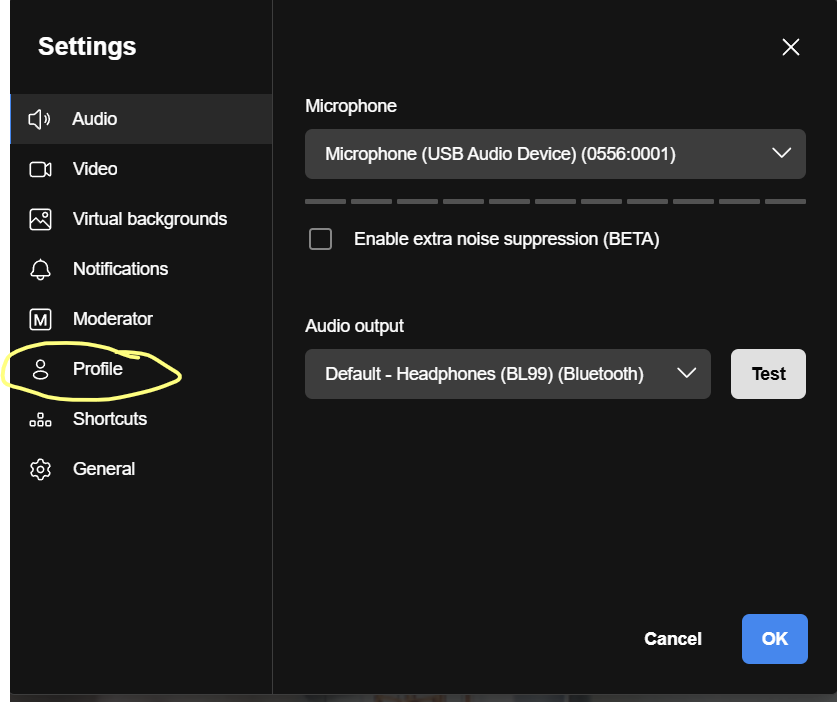
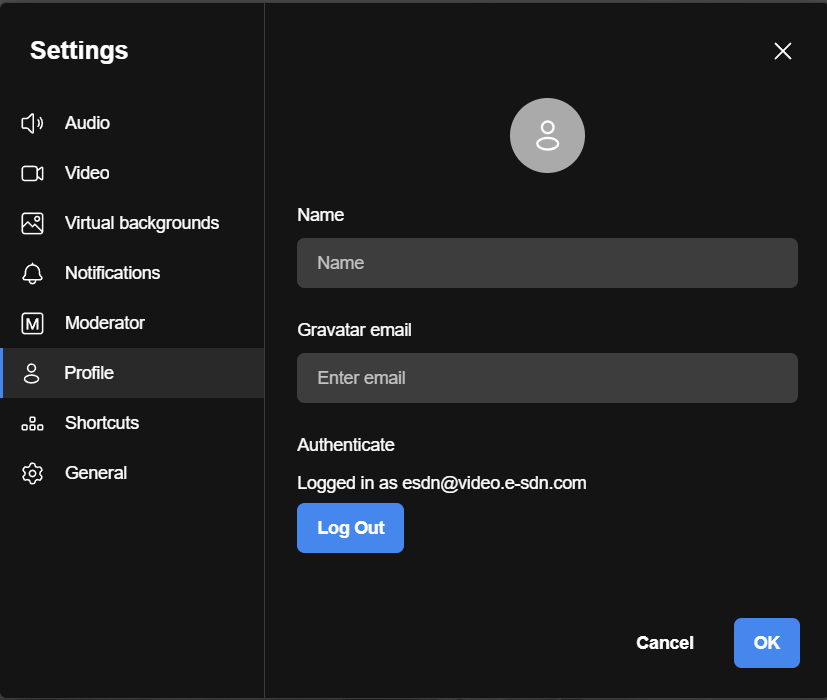
Another feature to explore is how to modify your display name in the conference. So Click on your profile link at the left side, which will take you to the settings area where you can change your name. See this image
For instance, I will enter “Enlightened.” Additionally, you can make modifications to other settings such as camera controls, Microphone and even the ability to invite other guests.
This concludes our instructional video. Thank you for your attention and support.
If you need further assistance on Video Not working, Frustrated with the video conference, difficulty in setting up video conference or you can’t get the video to work. Try this link Troubleshooting Video Conferencing
Video link


0 Comments